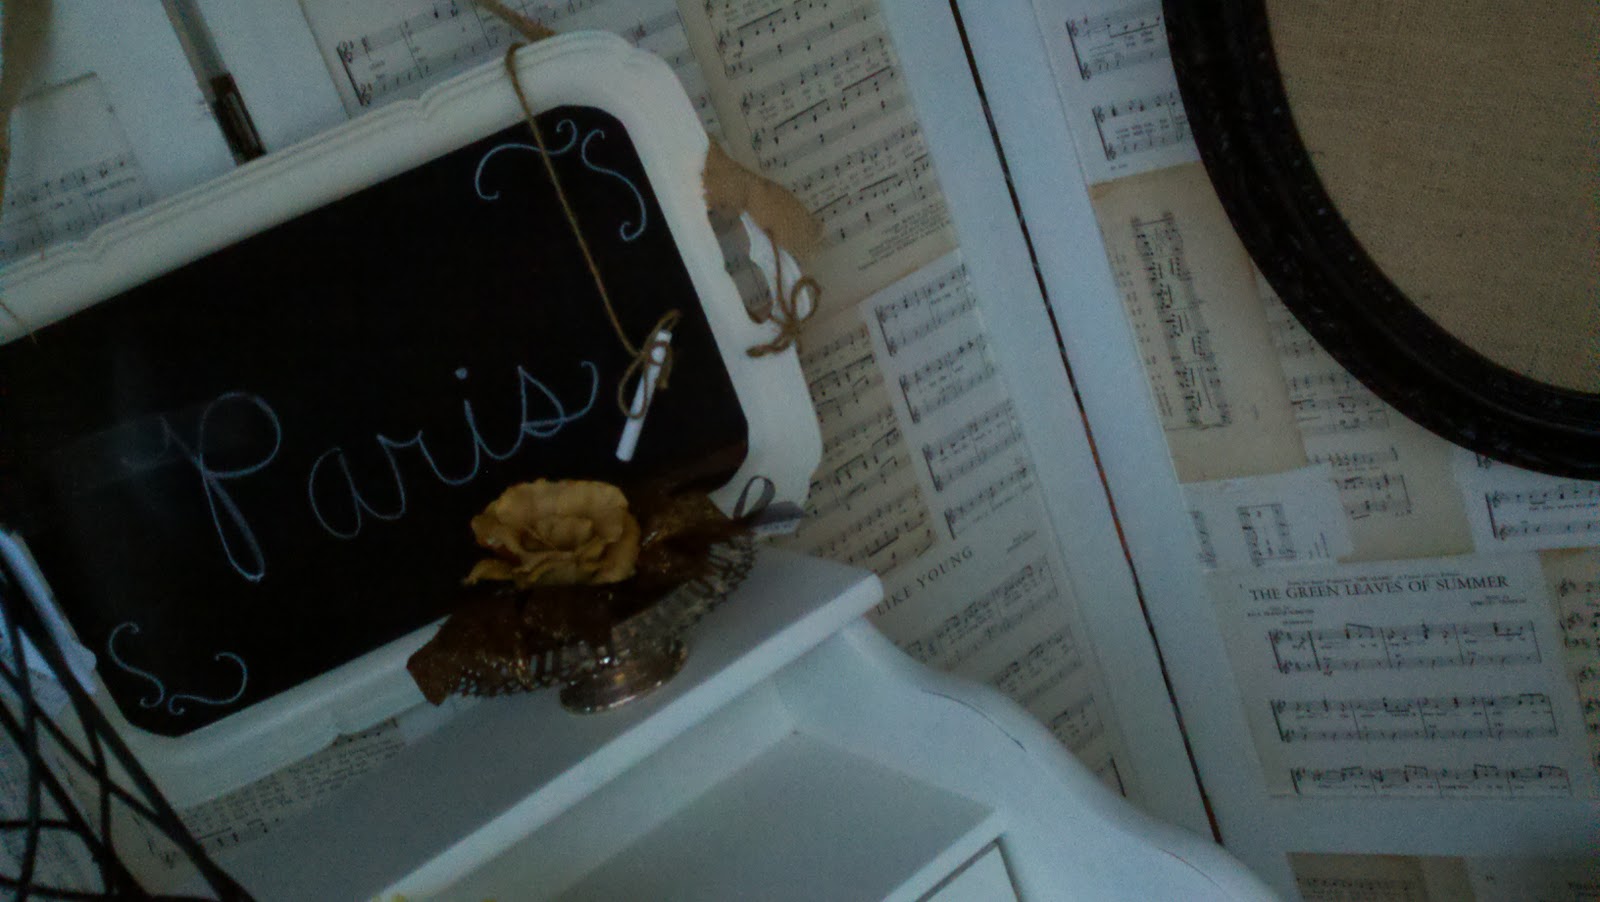
Showing posts with label painted white. Show all posts

Wednesday, July 20, 2011

An Almost Before and After

In my last post I mentioned that I'd share some before and afters of some of the things I made for the show.  Well, I'm sort of doing that here only I discovered I actually don't have any "before" shots of it...oops. 

These photos are from the show.


Oh, just to warn you, this post is more wordy than usual because I'm giving a lot more how-to information than I usually do so bear with me ladies....

It always seems like I'm half way through a make-over when I realize I forgot to take any "before" shots.  Once, at a show, I actually asked a customer, as she was walking away from my booth with her new purchase, if she wouldn't mind setting it back down and moving out of the way so I could get a shot of the really cute vintage, metal vanity chair I made over.  Hopefully she wasn't too offended.  I was polite about it, really.
 

Even though this is a mid-project shot, this is my "before."

Let me at least give you a mental visual of the actual before (without my feet of course).  This started out as your typical French provincial, dark stained, double bed.  Yes, I had the headboard, footboard and side rails.  So why did I not just keep it as a complete bed?  Well, as you may or may not be able to relate....we had soooo much junk many treasures that some things had to be stored on my Mom's back patio and the footboard sustained a little damage from the elements.  (of course I haven't thrown it out, I'm sure I can still do something with it!)

My first plan was to just fix up the headboard with some paint and appliques figuring someone would buy a headboard by itself.  Then when I saw my friend, Margaret, make a chalkboard from a headboard for her daughter's wedding I was so inspired that I had try it and of course take it a few steps further.  ;).  I can't just keep it simple.

I began by very carefully taping off the curvy frame part with blue painter's tape.  I used a flat black spray paint as a primer before I spray painted it with 2-3 coats of chalkboard paint.  When I was ready to paint the rest I removed that tape, then taped off the chalkboard part this time (see pic above).  I wanted the painted frame to have a crisp and clean edge around the chalkboard so I didn't want to take any chances without the tape.  I'm just picky like that. 

I then whipped out my trusty, crusty can of the now famous, Annie Sloan's Chalk Paint in Old White.  When I originally sanded the headboard months ago, I didn't know about this paint.  I'm not a cheesey sander, I really get in there and do it right when the piece calls for it.  Trust me, I would NOT have spent all that time sanding, especially the curvy parts, had I known it would not be necessary.  

We added a shelf and trimmed it with nice, detailed moulding.  I went back and forth on either adding appliques or hand-painting some words since there was such a large blank spot under the chalkboard.  I decided appliques would appeal to more customers.


I already had the curvy brackets (see why you shouldn't ever throw anything away?) and they fit perfectly on the legs of the headboard.  I also loved how the curvyness worked with its shape. 


We also added a piece of wood across the bottom (under the shelf) so we could attach old, vintage door knobs for hooks.  I actually didn't have time for the knobs when I took it to the show so I wasn't very disappointed it didn't sell.  I really wanted to see it completed the way I had envisioned it.  Can't you just see this on a wall in a mudroom or entry way with a purse, coat and back packs haning from it?
And wouldn't you know it?  It sold just three days after we put it in my booth!


This project was another learning experience with the Chalk Paint.  I'm still getting used to using the dark wax rather than the antiquing glaze I normally use with regular paint.  At first I really didn't like how dark it got but after playing around with it, I learned that you can lighten it up by going back with clear wax - it sort of dilutes it.  I just kept working with it until I got the look I was going for. 

There are all sorts of Chalk Paint techniques on different blogs and you can even go directly to the Annie Sloan web-site as well.  But for some video tutorials, check out Mustard Seed Interiors
For this project, I just painted it on with a cheap brush, followed by a smaller, nicer brush for painting around the taped areas.  It does dry pretty quickly so you can actually sand and distress it the same day without it rolling up and peeling.  After some distressing, I rubbed on a clear wax with an old terry cloth washcloth.  A tip I can offer - make sure you are watching carefully that you do not miss any spots with the clear wax.  I have made that mistake and it makes the dark wax look really muddy and grayish brown everywhere you missed.  The paint just soaks it up and it doesn't look pretty, trust me.


You can see how I left it a little heavy in the corners and around the applique where a piece would naturally get sort of grimy over the years.  You just have to work with it yourself and do what you like.

Please pardon the kids' play table and sidewalk chalk art.  ;).


A great tip I learned from Miss Mustard Seed - to avoid "burning" words on your new chalkboard, you should always "prime" your chalkboards.  You do this by taking a piece of chalk on its side and rubbing it all over the chalkboard.  Wipe it all off afterwards of course but don't worry about trying to make it perfect.  After all, it's meant to be used, right?


I like to have fun and write on my chalkboards when I put them out to sell.  I think it helps people visualize the use they can have in their homes.


Jack likes it, too!


So, there you have it.  An almost before and after of my chalkboard headboard.

Linking up with:


Please visit the blog parties to check out all the creative talent and be inspired!

Have a great weekend everyone!

Blessings,
Missy

Thursday, May 19, 2011

Happy Anniversary White Wednesday!

Can you believe Kathleen at Faded Charm is hosting her 100th White Wednesday post?
I am so thankful to her for so faithfully hosting this "blog party" each and every week.  Although I haven't always been able to link up every week, I do enjoy browsing all the amazingly beautiful posts.  I've found some of my most favorite blogs, ideas and inspirations there.  I decided this time for my WW post, I'm giving my best shot at a photo collage, all whites of course.  Hope you enjoy.


Please head over to Faded Charm and join the celebration.

Happy 100th WW Anniversary Kathleen!

Have a super blessed week everyone!

Missy

Friday, November 19, 2010

The Armoire - 8 Years in the Making

Have you ever bought something and had grandious plans
to make it into something beautiful?
And then never got around to actually
bringing those plans to reality?

I'm sure if many of you took a quick look into your garage,
patio or storage unit, you can totally relate.

For those of you who are so organized and disciplined that
your projects are completed before even a speck of dust
has tim eto settle on it, first of all,
there has to be something wrong with you....
I'm kidding of course....
I'd LOVE to have that problem trait!

Anyway, this post is about one of those pieces.
I bought this old armoire EIGHT years ago,
when I first started in this business of junkin'.
At that time I was slightly over-buying.
I seemed to have a serious lack of self-control.
(Some of you may relate to this as well.)

I actually bought two entire old bedroom sets,
that included three armoires.
I know, I know...
but I already told you, I had no self-control!

I could literally picture each one of them completed,
each with their own set of beautiful, ornate appliques.
The other two have sold long ago.

But for some reason, the one I had the biggest plans for
just sat and sat....and sat.
Eventually it ended up on my Mom's rear patio.
There it sat some more - 8 years total!


Well, here she is.
A little weather damaged,
which I'm sure many of you can relate to as well!


Oh, I'd say about a second or so after snapping
this photo, she decided to fall forward off of the platform.
Thank goodness my Husband was there to jump in and save her.

Sad, isn't it?
Poor neglected armoire.
She was so loyal, sitting there, patiently, for eight long years.
I had to make it up to her so I hunted around
to see what we could do.

 Now that's better!

With a little moulding and some glue,
she's good as new, or even better actually!


After a TON of sanding,
we went through 4 cans of Kilz.
Then I started to play with my appliques,
trying to find the best combination.
This is pretty much what I had envisioned all those years ago.


 My next step was to add a lighter primer to all the appliques.
The Kilz is much too heavy for the ornate detail of the appliques.

Here's what it looked like after my Husband
added a couple coats of paint with our HVLP sprayer.

After looking at it for a few days,
I realized I didn't like how bright it looked.
I debated on "shabby-chic-ing" it.
(You know, sanding edges and such)
But then I decided to antique it.
I played around with some glaze and stain but it kept separating.


 So then I thought I'd try something new.
I just used the walnut colored furniture stain alone
and dipped a rag in it and started to rub it on.


After quite a while of fine tuning,
I was very happy with the results.

You may have noticed the fan in one of the pictures.
That was because the stain was so oily,
it kept settling around the appliques.

It was taking FoRevER to dry so I actually brought
the fan outside and parked it right in front of the armoire all night!

Finally it all dried and ended up looking really cool.

 So there it is in my space.
The matching dresse/vanity is next to it.


Here are a couple of close-ups of it all done
and in my space at Mission Galleria.

If you have any questions about it,
just email me or post a message.

 I was hoping to link up to Marian's blog party
but I missed the deadline, darn it!
But thankfully I'm able to make it to
Debra's Vintage Inspiration Friday blog party
at Commom Ground! 
Yay!
I've been wanting to participate for quite a while now
and am finally doing it!
Please drop by and check out all the other
lovely bloggers' Vintage Inspiration.

AND I'm linking up to Terrell's blog party
at Frou Frou Decor!


Hope you all have a super blessed weekend!

Missy


Wednesday, October 20, 2010

White Wednesday Catch Up

You may or may not have noticed that
I haven't done a WW post for-e-ver!
I was on such a roll for a while there too!

In the best interest of my time right now,
I'm going to post a bunch of different pictures
I've taken of my space and some furniture
that just all happen to be in some form of white.

I just finished this little dresser last week.
I added appliques and then sort of dry brushed it,
and added glass knobs.

 I had forgotten about this little shelf
that I had painted the same way.

 We had so much fun making this door that
I think I'll do a WW post just featuring
this door with before, during and afters.

 I made these four bottles out of
all sorts of things I had managed to collect.
I actually did all of them the night before that boutique.
Since they didn't sell, here they are in my space.

 This lovely beast was a project we took on about
a month ago but I actually bought it about 9 years ago.
It was one of the first large pieces I bought
when I got my first space at Mission Galleria.

 I had a specific vision for it way back then.
 I had the precise appliques pictured in my mind -
I've had the appliques just about as long!
 I'm so happy with the way it turned out!
Just as I had pictured.

 Here's the matching dresser/vanitiy.
At the last minute I decided to
add appliques to the mirror.

 This is a previous picture of the window to my space.
This was a metal tray we painted, then added chalkboard paint.
It has since sold.

I apologize for the terrible pictures but
everything, and I mean everything,
reflects in the window every time I take pictures of it.

This one is better because I put my phone
directly to the glass to avoid the reflection.
The only thing is that it only works for close ups!


The lady that bought the chalkboard tray
also bought the desk and chair to go with it.


I think it really helps to sell your things when
you display them in such a way that
people can see how they may set it up
in their own home.


This is my window now.
Since the desk set sold, I moved the dresser/vanity
and switched the gossip bench to the other side.
I also moved the floor screen I did all the way up
on the platform in the window.
I'd still like to add some fabric on the sides
but I was lucky to have enough time to
set up the window in the first place!
Like I always say...
with three crazy, beautiful kids and
a fabulous Husband,
my time is somewhat limited!  ;).

I hope you all enjoy White Wednesday!

Please take some time to check out the other
beautiful whites at Kathleen's Faded Charm.

Blessings to every one of you!

Missy